Vegan Hamburger/Hotdog Buns (w/ Bread Machine)
We have some store bought hamburger buns, but with just my wife and I to carry groceries home once every two weeks (quarantine + no car = 🤔) occasionally it’s just easier to bake what you need.
Today, that thing we need was hotdog buns! This also works for hamburger buns; they’re just shaped differently. So I’m going to outline the recipe I followed to make some hotdog buns using an adapted bread machine recipe.
Enough chit chat, let’s get cooking.
Environment
Temperature
Ideally 70-90°F/20-32°C.
Affects rise effectiveness.
If your cooking area is colder than this, you might want to find a warmer space for the buns to rise in the "Shaping and Rising" step. My Bosch oven for instance has a "More Modes > Proof" setting that goes as low as 85°F. You probably don’t want to go over 90°F (yeast can survive until 115°F or so, but we’re not actually proofing here). 85-90°F is ideal.
If your cooking area is warmer than this (70°F) that’s fine too, but doesn’t really change much.
Humidity
Ideally 30-50% relative humidity.
Affects moisture of your flour.
Depending on which site you check, 40-60% or 30-50% is ideal for the longevity of humans and furniture. If you’re living significantly outside of this range, expect to make some adjustments.
If you’re living under 20% humidity, try adding an extra ¼ cup water (+25% liquid). If you’re living with 21-30% humidity, try adding an extra ⅛ cup water (+12.5% liquid).
If you’re not sure what humidity you’re at, you might consider getting a hygrometer, or just guess 🤷♂️.
Other Reminders
-
Flour can go bad in as few as 3 months. Keep it cool and dry in an airtight container, or at least keep the bag completely closed when you’re not using it.
-
Yeast is a living organism and eventually dies if not used. Dry active yeast has a shelf life of ≈12 months. If you’re not sure if it’s still alive, it’s a good idea to proof it first.
Equipment
-
Bread machine (e.g. Zojirushi Virtuoso)
-
Mixing bowl
-
Flat surface (cutting board or counter)
-
Cookie sheet with parchment paper
-
Pastry brush
-
1 tablespoon
-
1 teaspoon
-
1 cup (dry)
-
½ cup (wet), or one of those liquid measuring cups with the lines on it
Ingredients
Makes 8 buns
-
3 cups all-purpose flour (420g)
-
or 2 cups all-purpose + 1 cup whole-wheat if you’re feeling healthy
-
-
½ cup milk (any alternative is fine; we use unsweetened soy milk)
-
½ cup water
-
2 Tbsp cane sugar (22g)
-
2 Tbsp oil (should be mild flavor; e.g. refined coconut oil, olive oil, avocado oil)
-
7g or 1 packet of active dry yeast
-
1 "egg". Use whatever egg replacer you like, or a Flax Egg. I use and can recommend Bob’s Red Mill egg replacer.
-
1.5 tsp salt (9g)
-
Bit of extra oil or butter, around 2 Tbsp
Directions
Assembly
≈20 minutes prep
-
Prepare 1 "egg"; remember that most "egg" recipes require 1-5 minutes to properly congeal into an eggy texture.
-
To the bread machine’s baking pan, add in ½ cup water and ½ cup milk.
-
In the mixing bowl, mix 2 Tbsp cane sugar, 2 Tbsp oil, and 1 tsp salt. Mix in the "egg" as soon as it’s ready. This is the
dough mixture. -
To the bread machine’s baking pan, add 3 cups flour as an even layer on top of the liquids.
-
Add
dough mixtureon top of the flour, but leave some flour uncovered for the yeast. -
Make a little crater in the flour and add all the active dry yeast.
Bread Machine
1 minute messing with buttons, ≈50 minute wait
-
Put the bread machine’s baking pan back into the bread machine if it’s not already.
-
Start the bread machine in "quick dough" mode. (Yes, this mode is normally for rapid rise yeast, but the regular mode has too much rise time.)
-
For my machine, this is just 10min rest, 20min knead, 20min rise.
-
Shaping and Rising
≈12 minutes prep, ≈40 minute wait
-
Dust your work area lightly with flour to prevent dough from sticking.
-
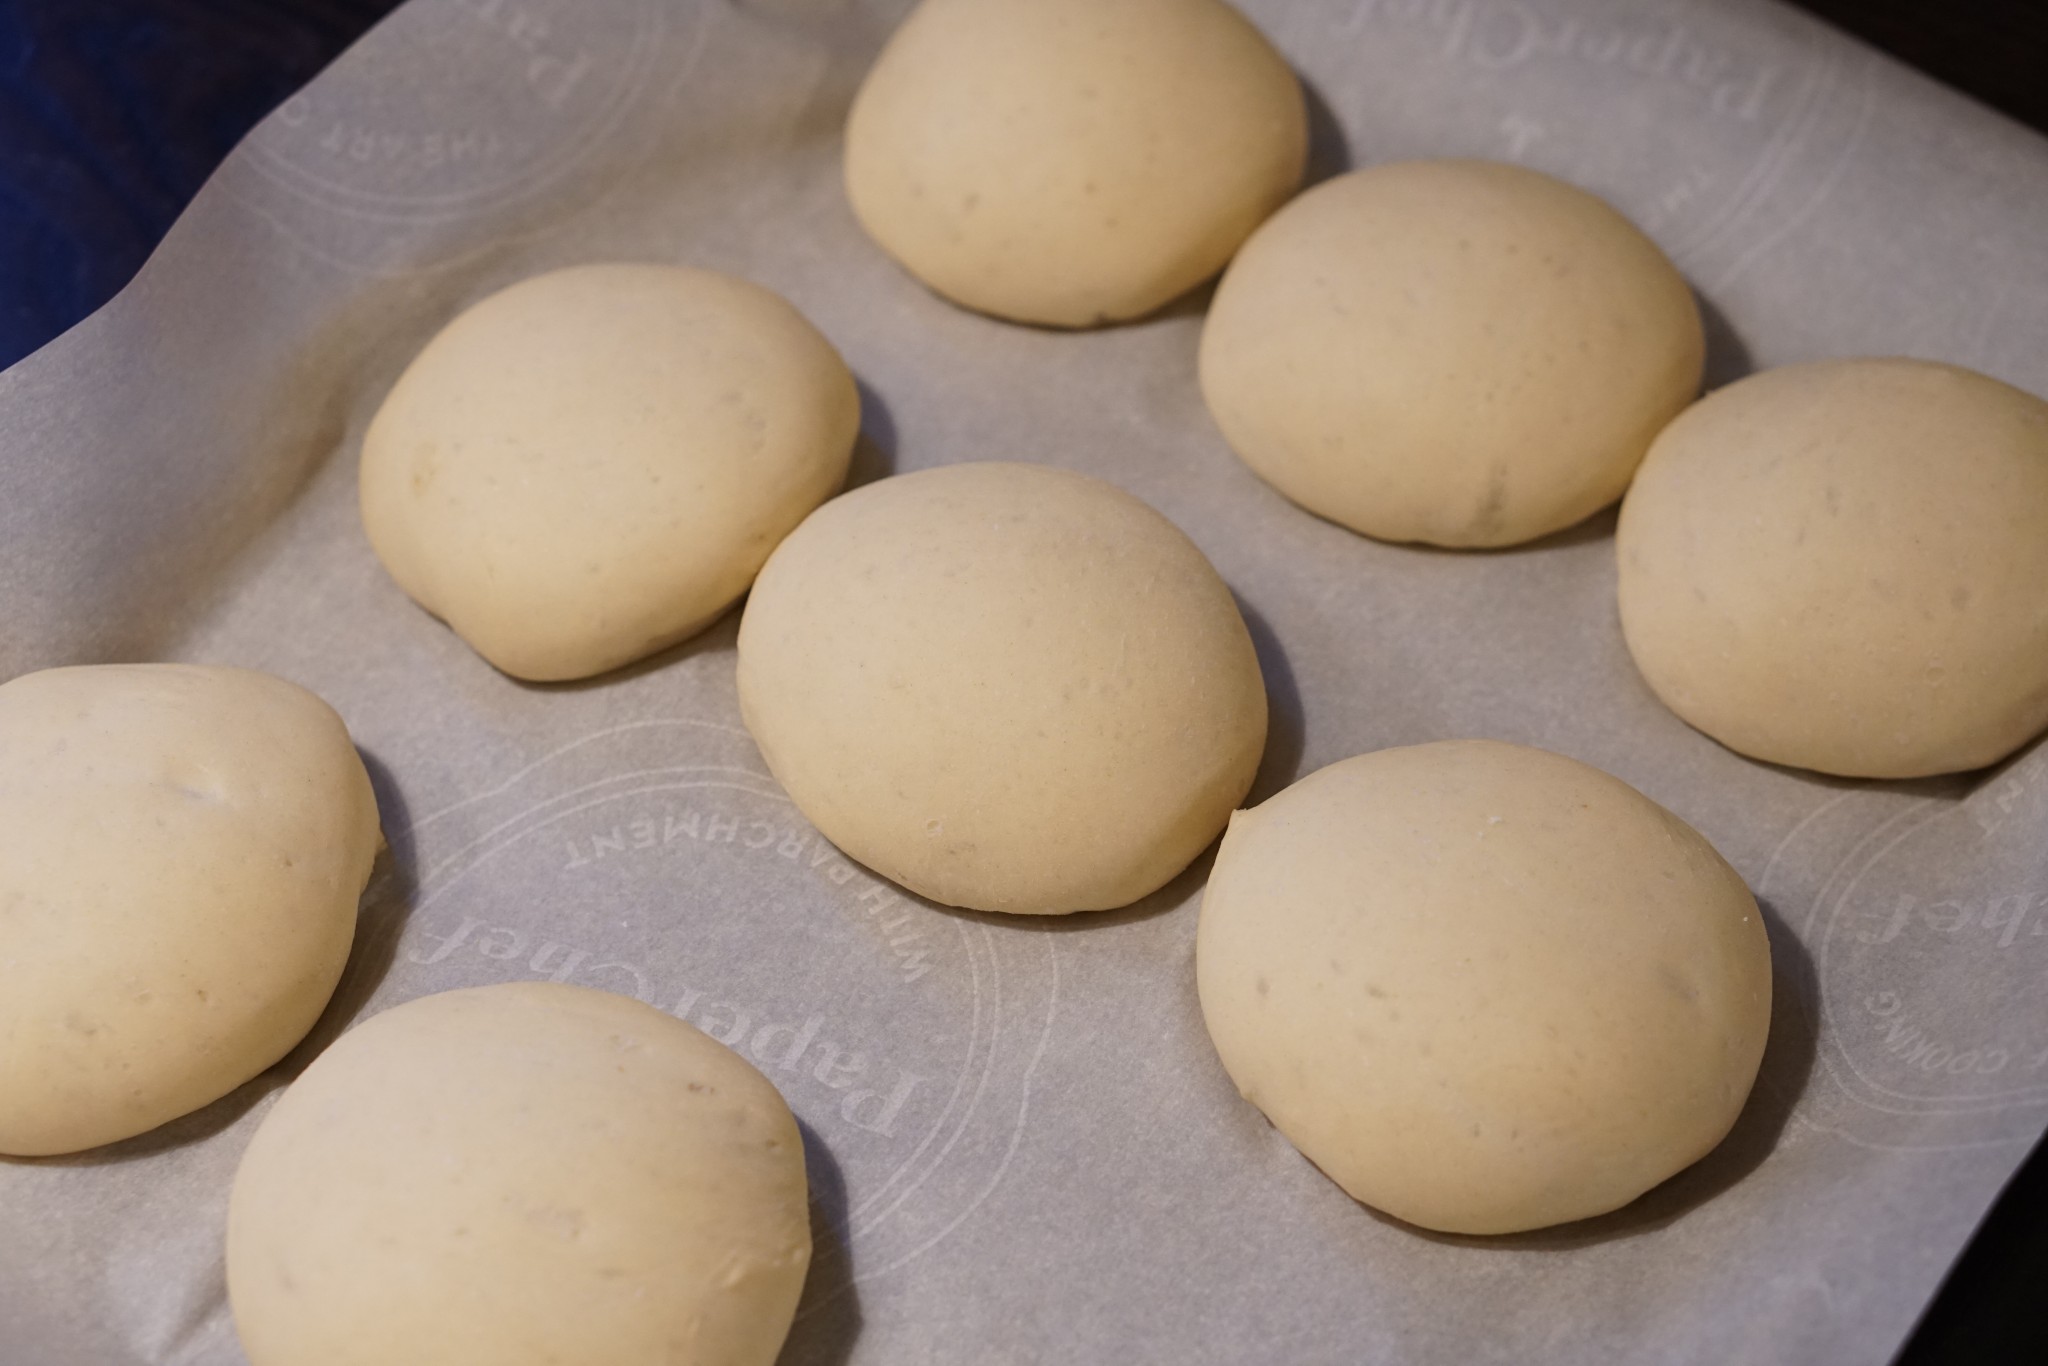
Split the dough into 8 evenly-sized pieces. A scale helps here.
-
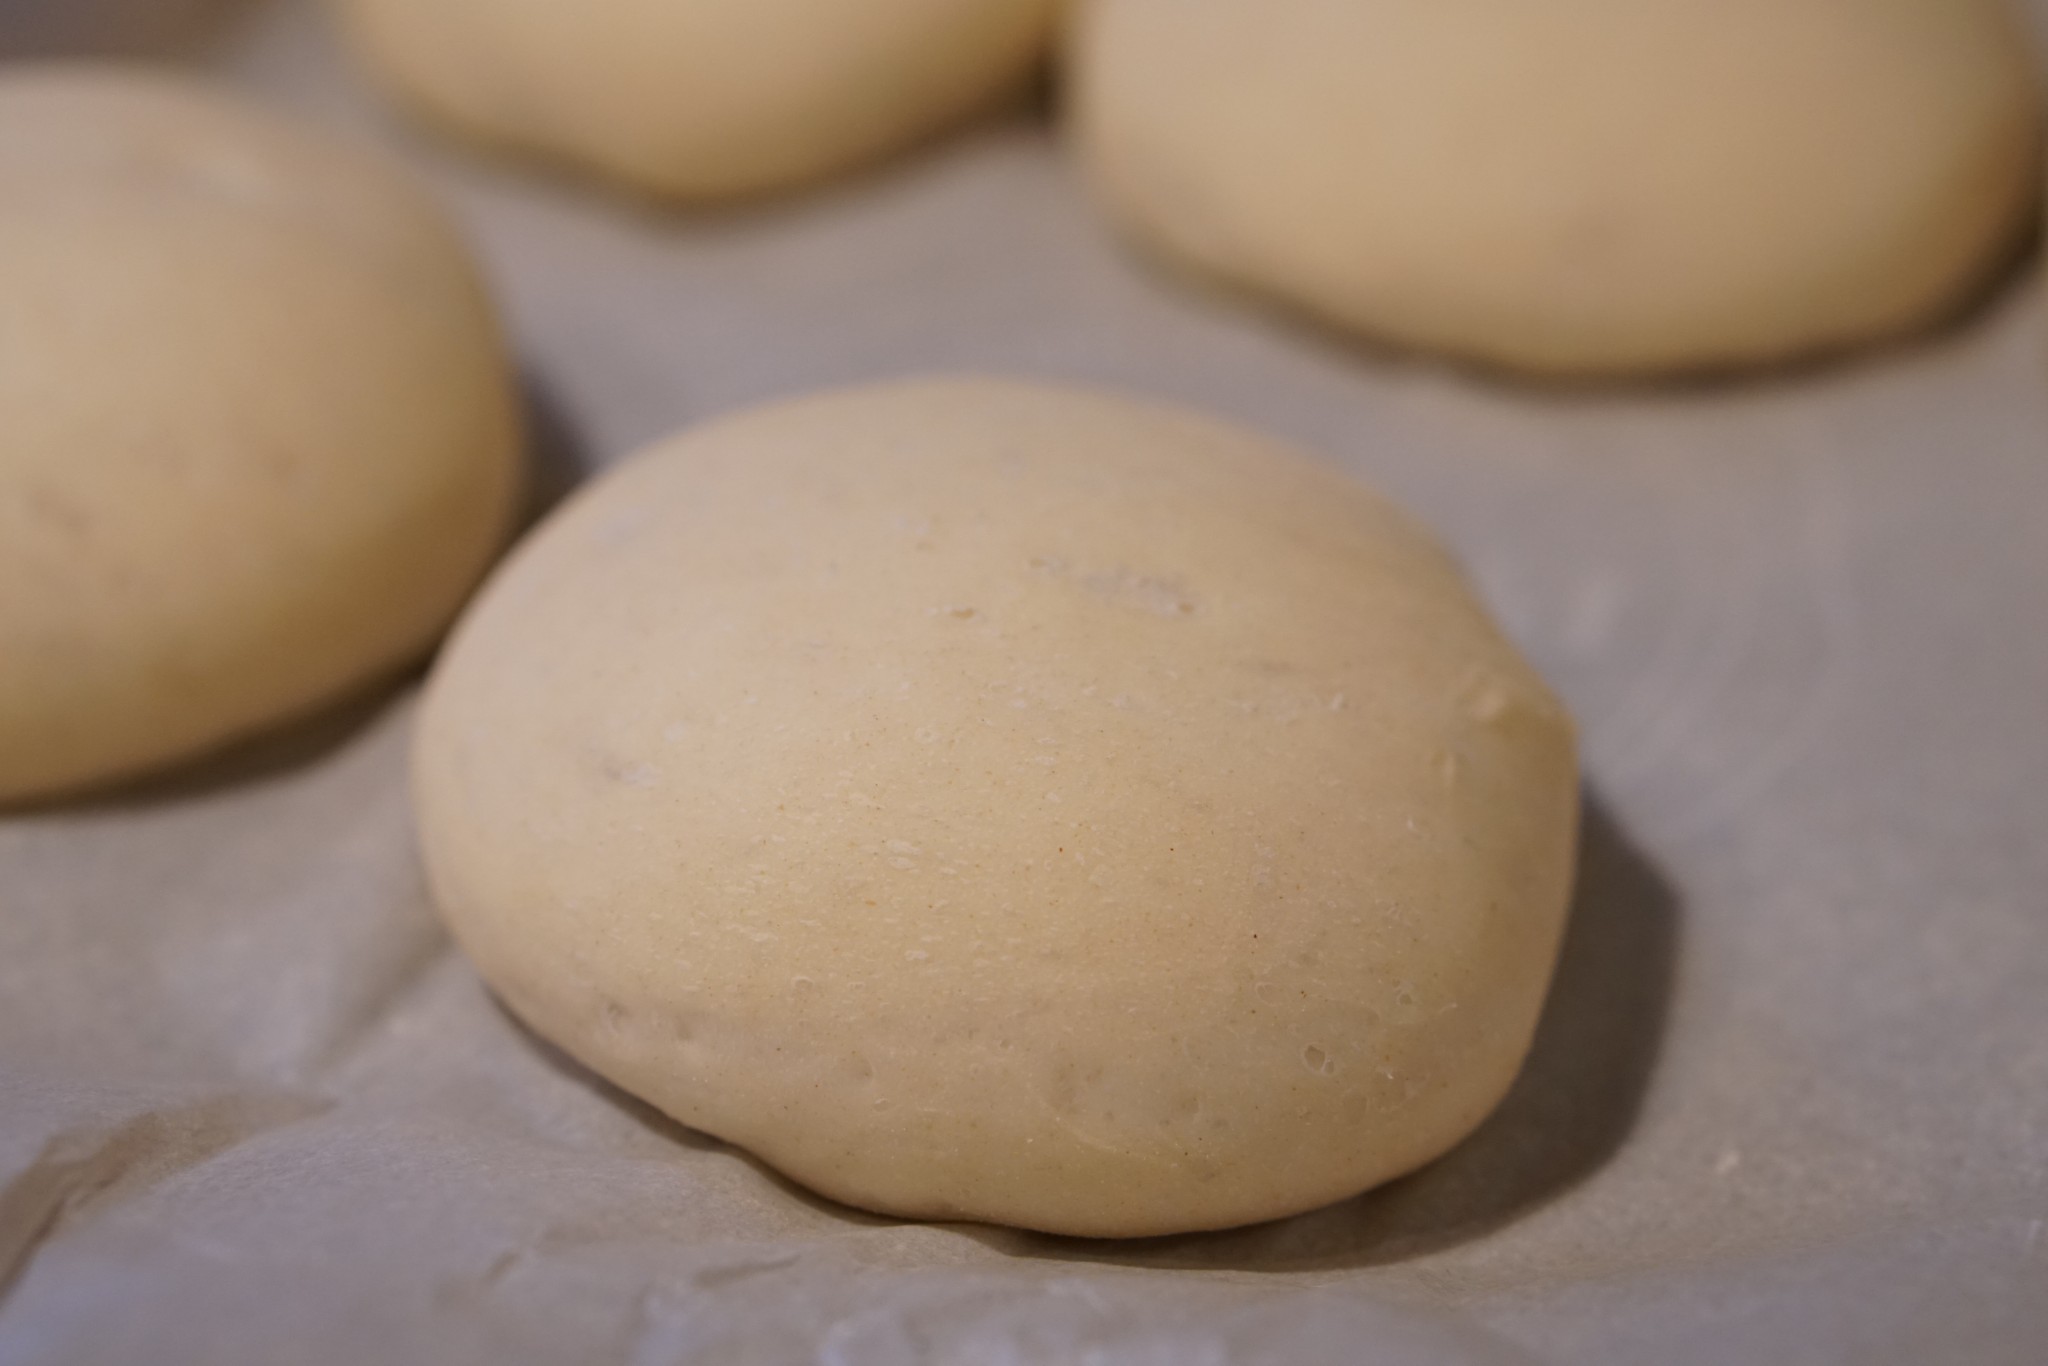
Shape each piece into a ball or cylinder, depending on whether you’re making hamburger or hotdog buns.
-
Transfer these to your cookie sheet (with parchment paper) and let rise for ≈40 minutes until they’re puffy and at least ¾ the size you’re expecting. (They’ll get a little bigger in the oven).
-
If you leave these on your work area, they might stick! So make sure they’re either floured just a little or on the parchment paper.
-
-
About halfway through the previous step, start preheating the oven to 375°F (190°C).
-
If you’re using the oven to keep the buns warm while they rise, skip preheating until the next phase.
-
Oven Time
≈2 minutes prep, ≈20 minute wait if you forgot to preheat, ≈20 minute wait
-
If the buns are in the oven, take them out.
-
If you haven’t already, preheat the oven to 375°F (190°C). Ensure there’s an available oven rack in the middle of the oven.
-
If your oven has a convection bake mode, now’s the time to use it. Reduce temperature by 25°F if your oven doesn’t do this automatically.
-
-
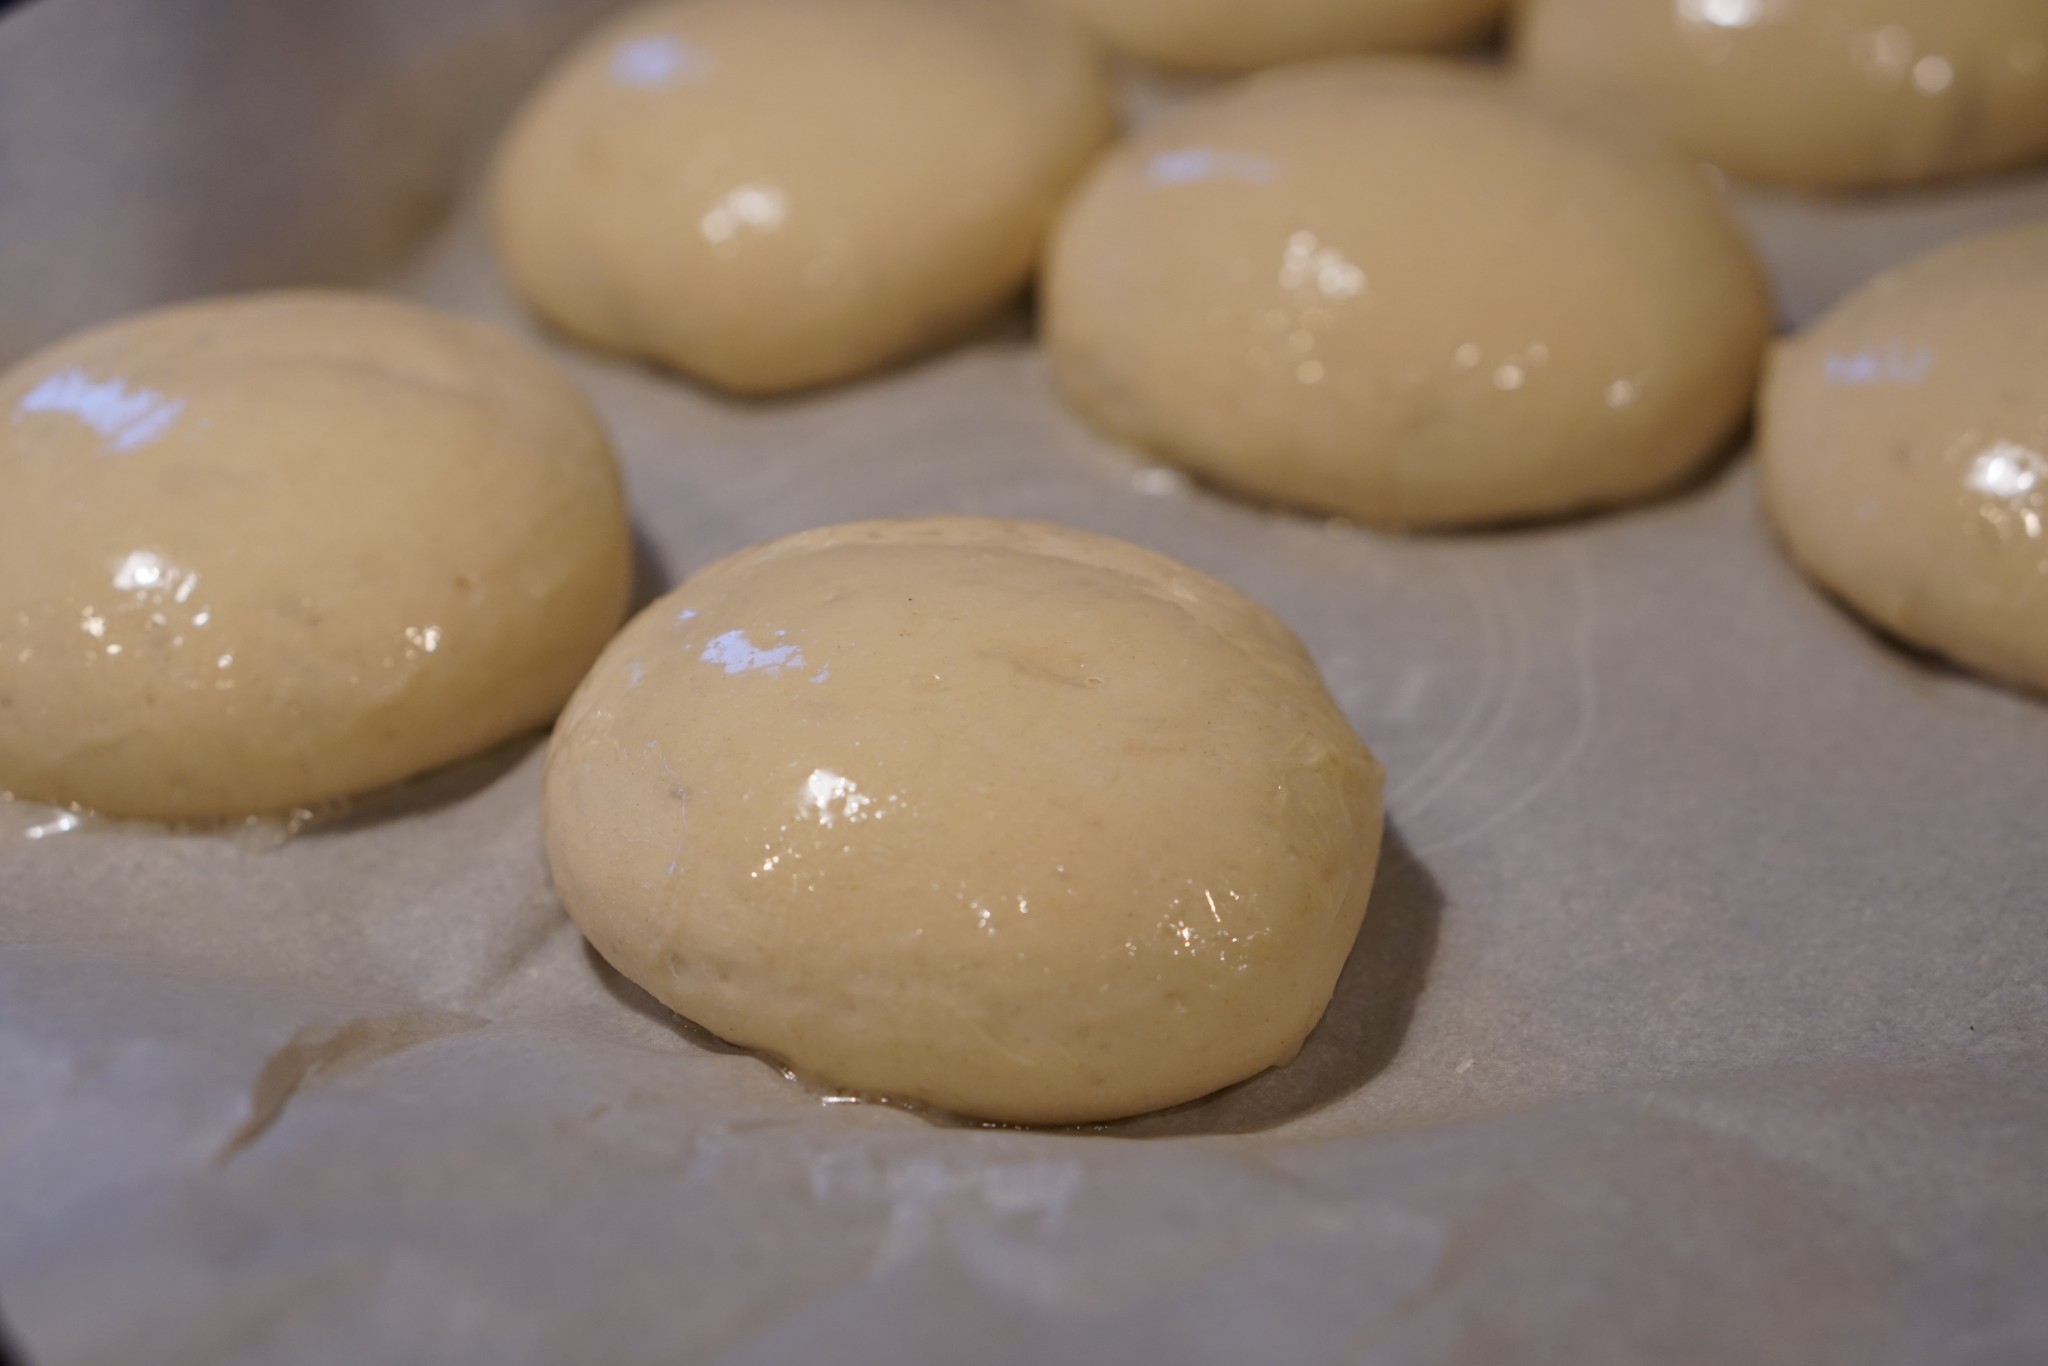
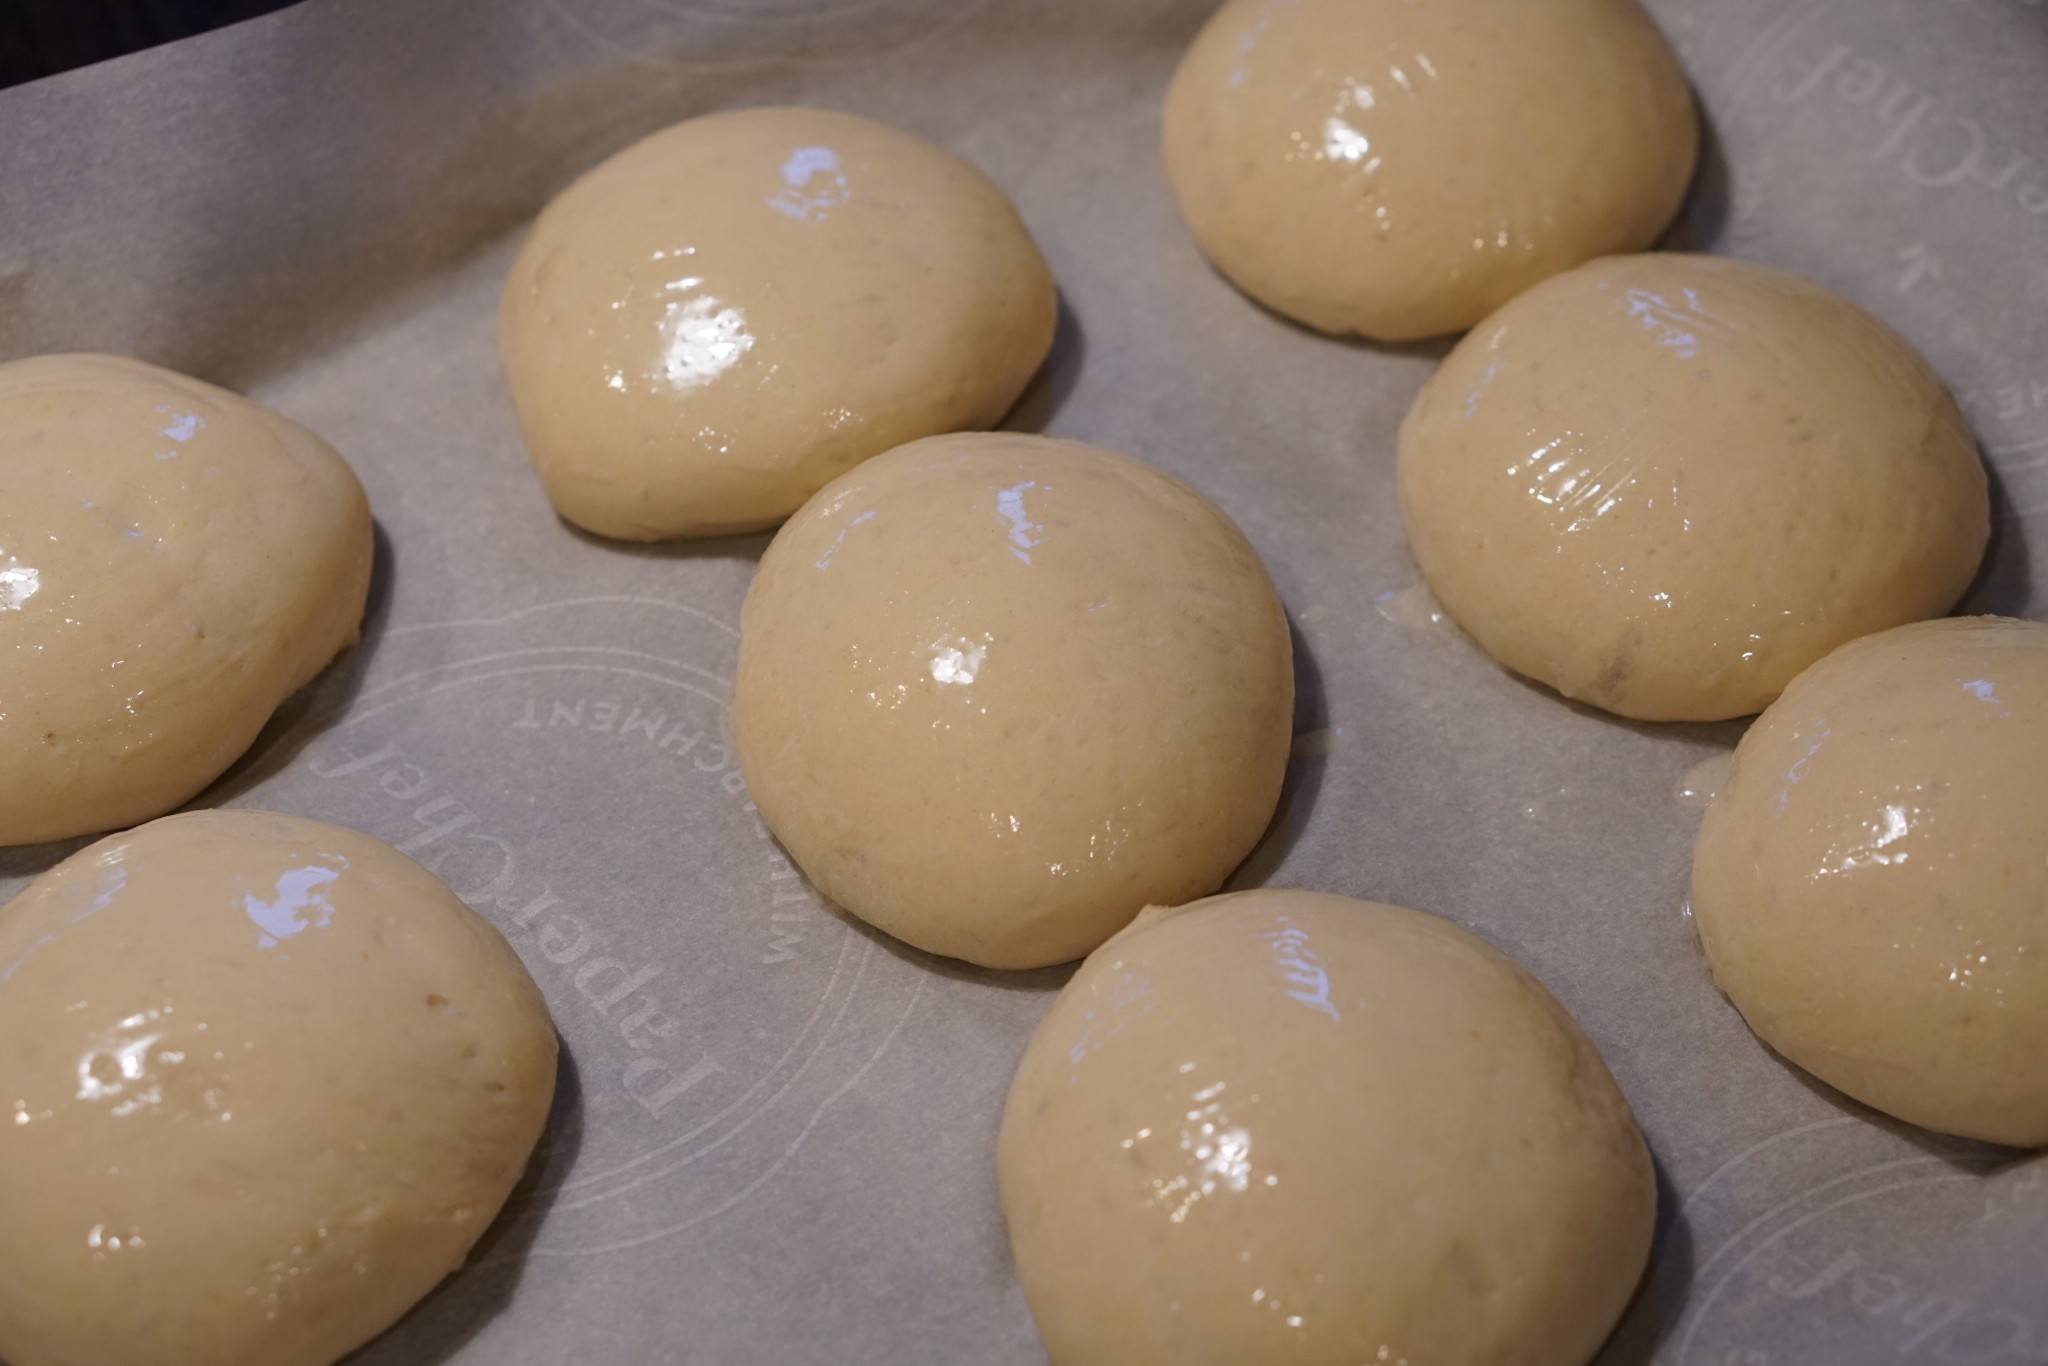
Lightly brush oil or butter on the top of the buns using a pastry brush. Take care not to collapse the dome of the bun.
-
Put the cookie sheet on the middle rack of the oven for 16-18 minutes, until the tops are golden.
-
Remove and let cool for a bit before enjoying or storing.
Notes
-
Inspired by thehealthyfamilyandhome and thekitchn.
-
Let me know in the comments how this worked out, especially if followed or made any alterations!
Revisions
-
v1.0: Initial recipe.
-
v1.0.1: 6g salt → 9g salt. Tried 9g, still tasted good. Was recommended by a commenter in related article.
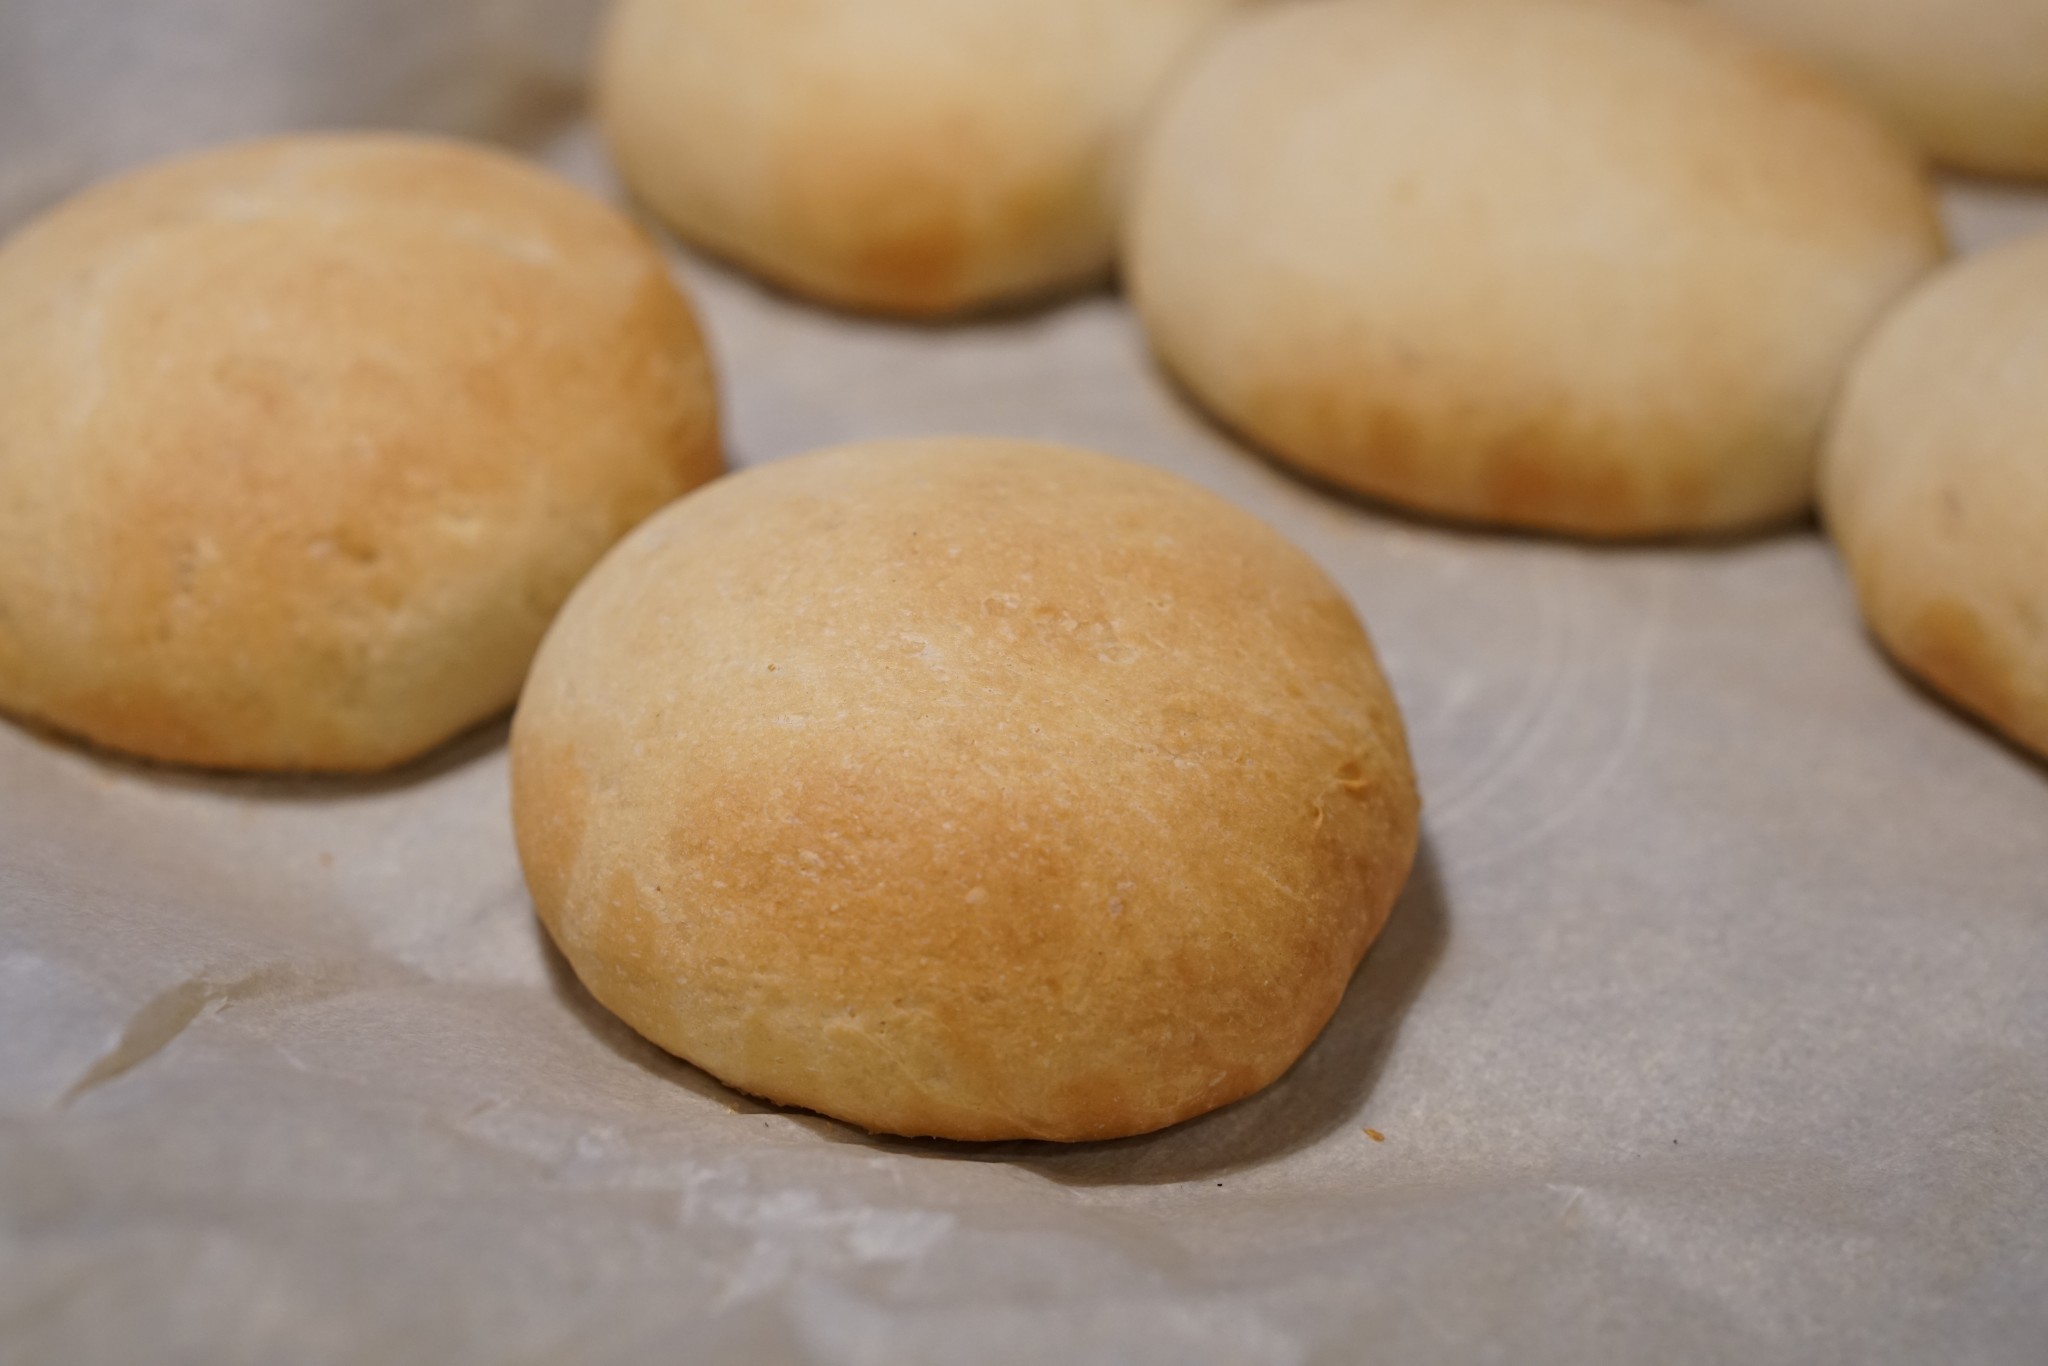
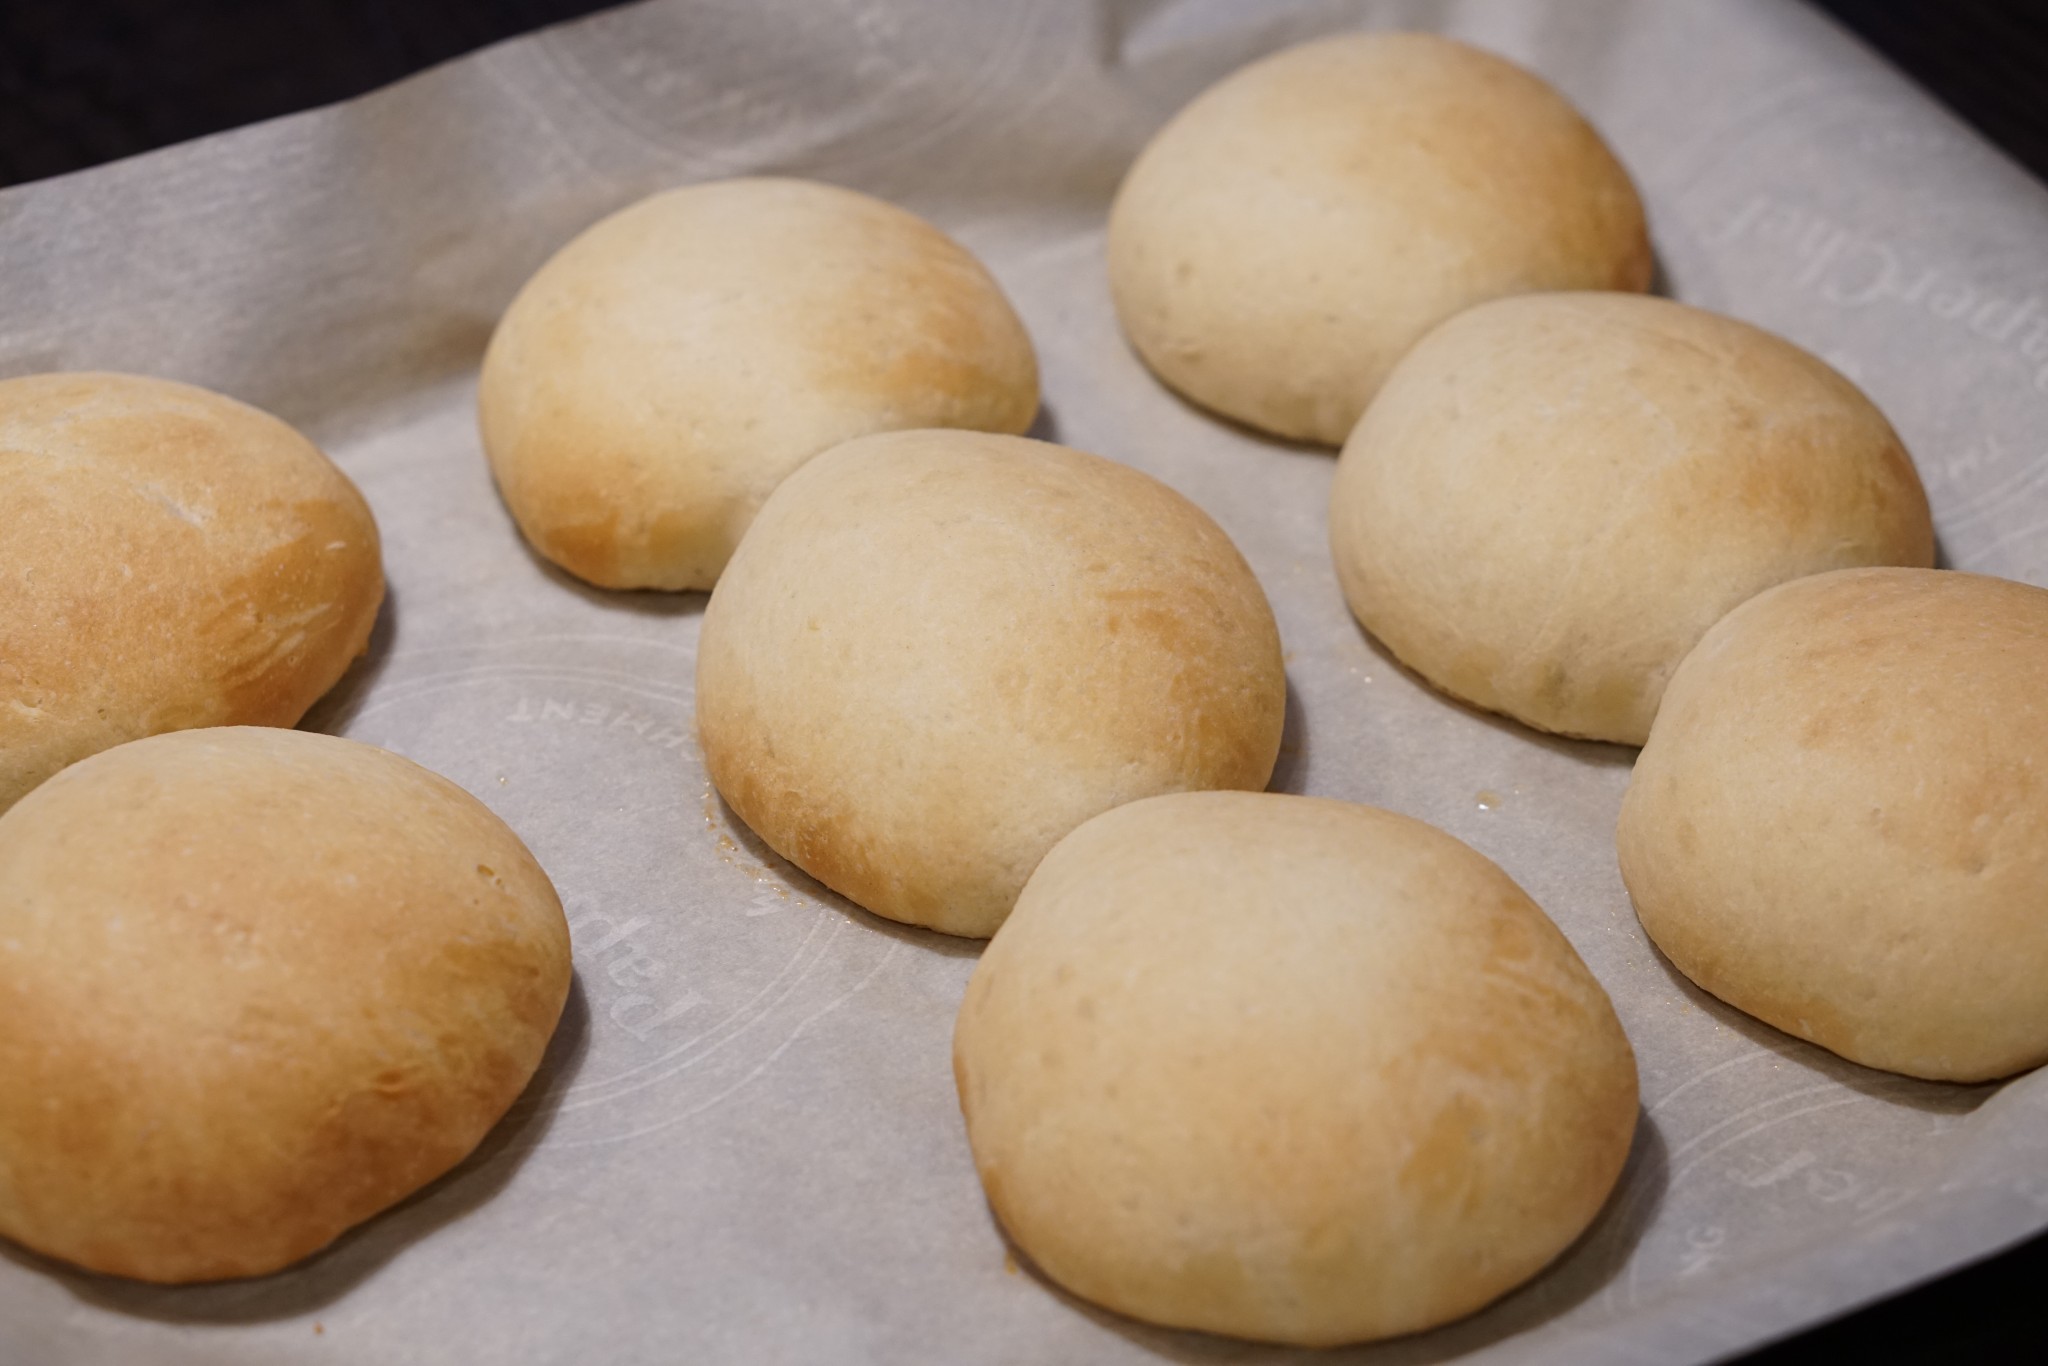
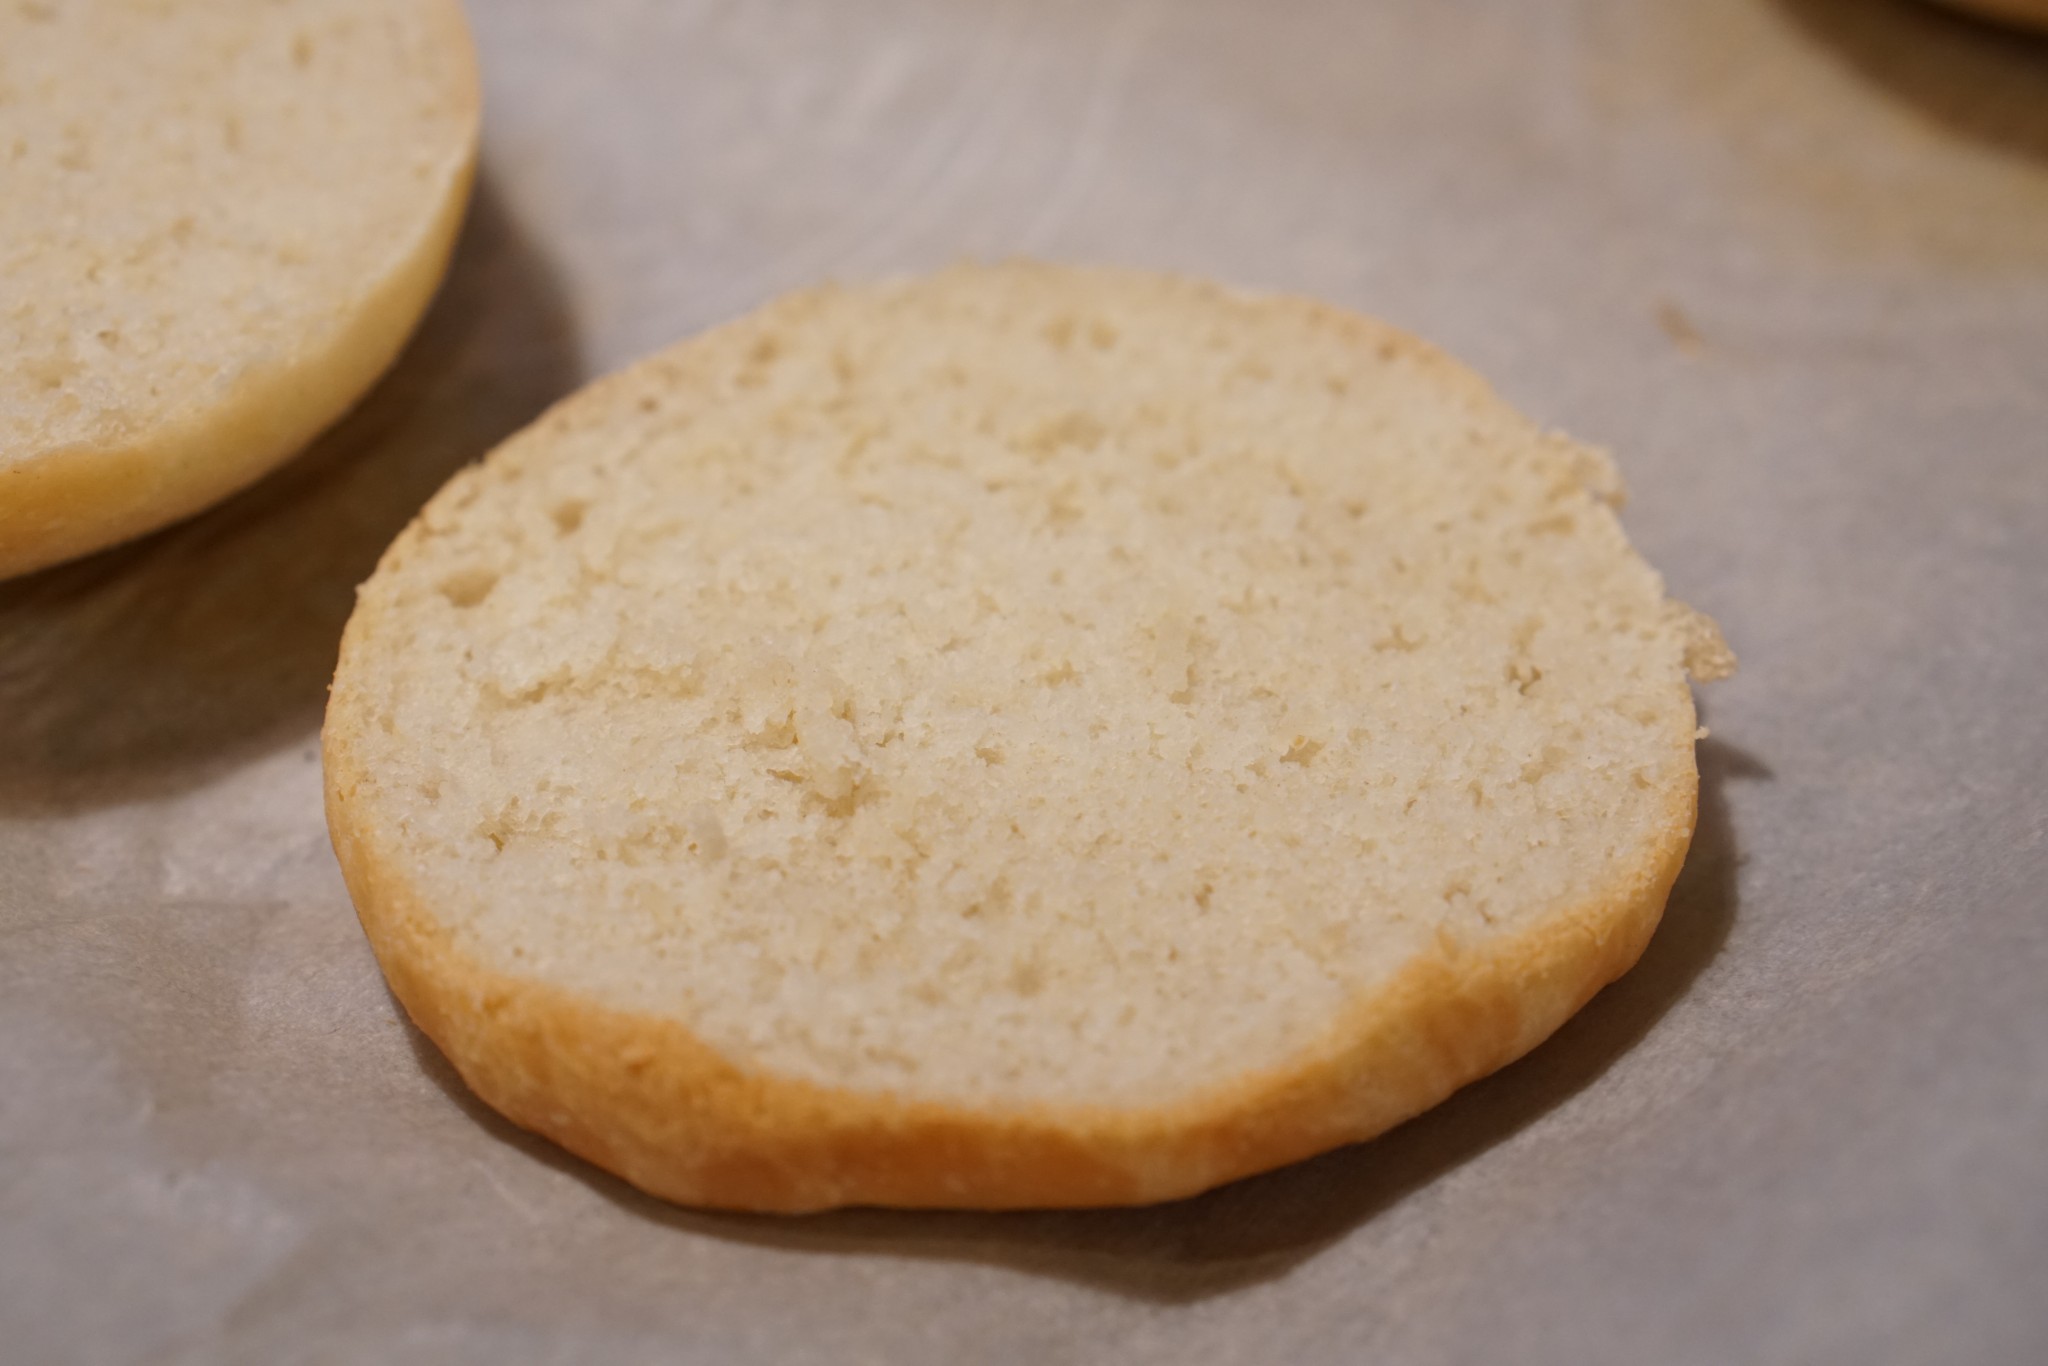
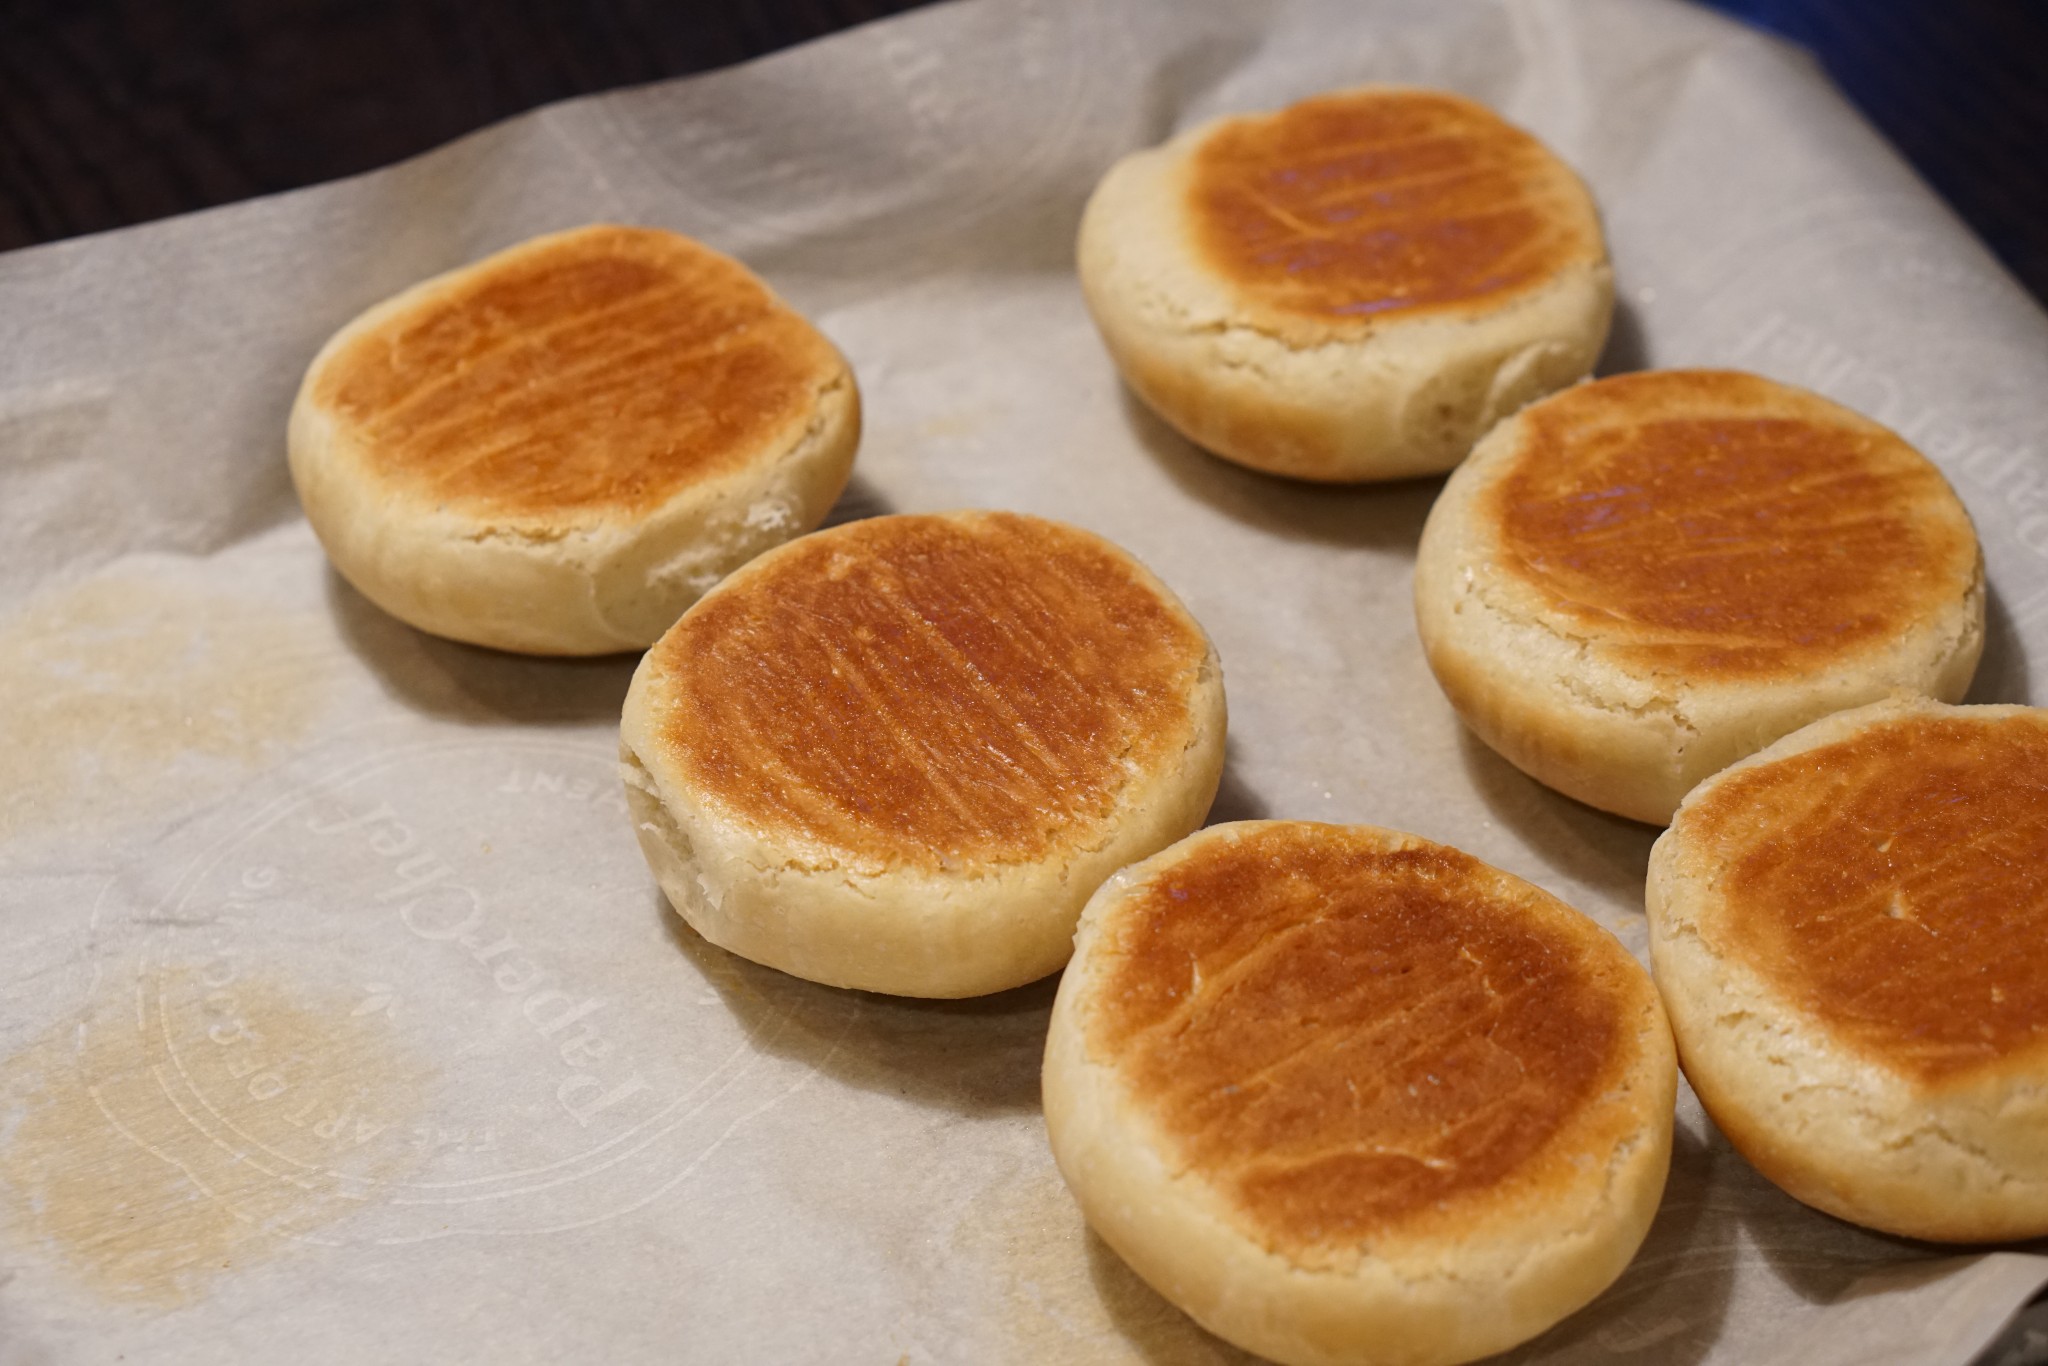
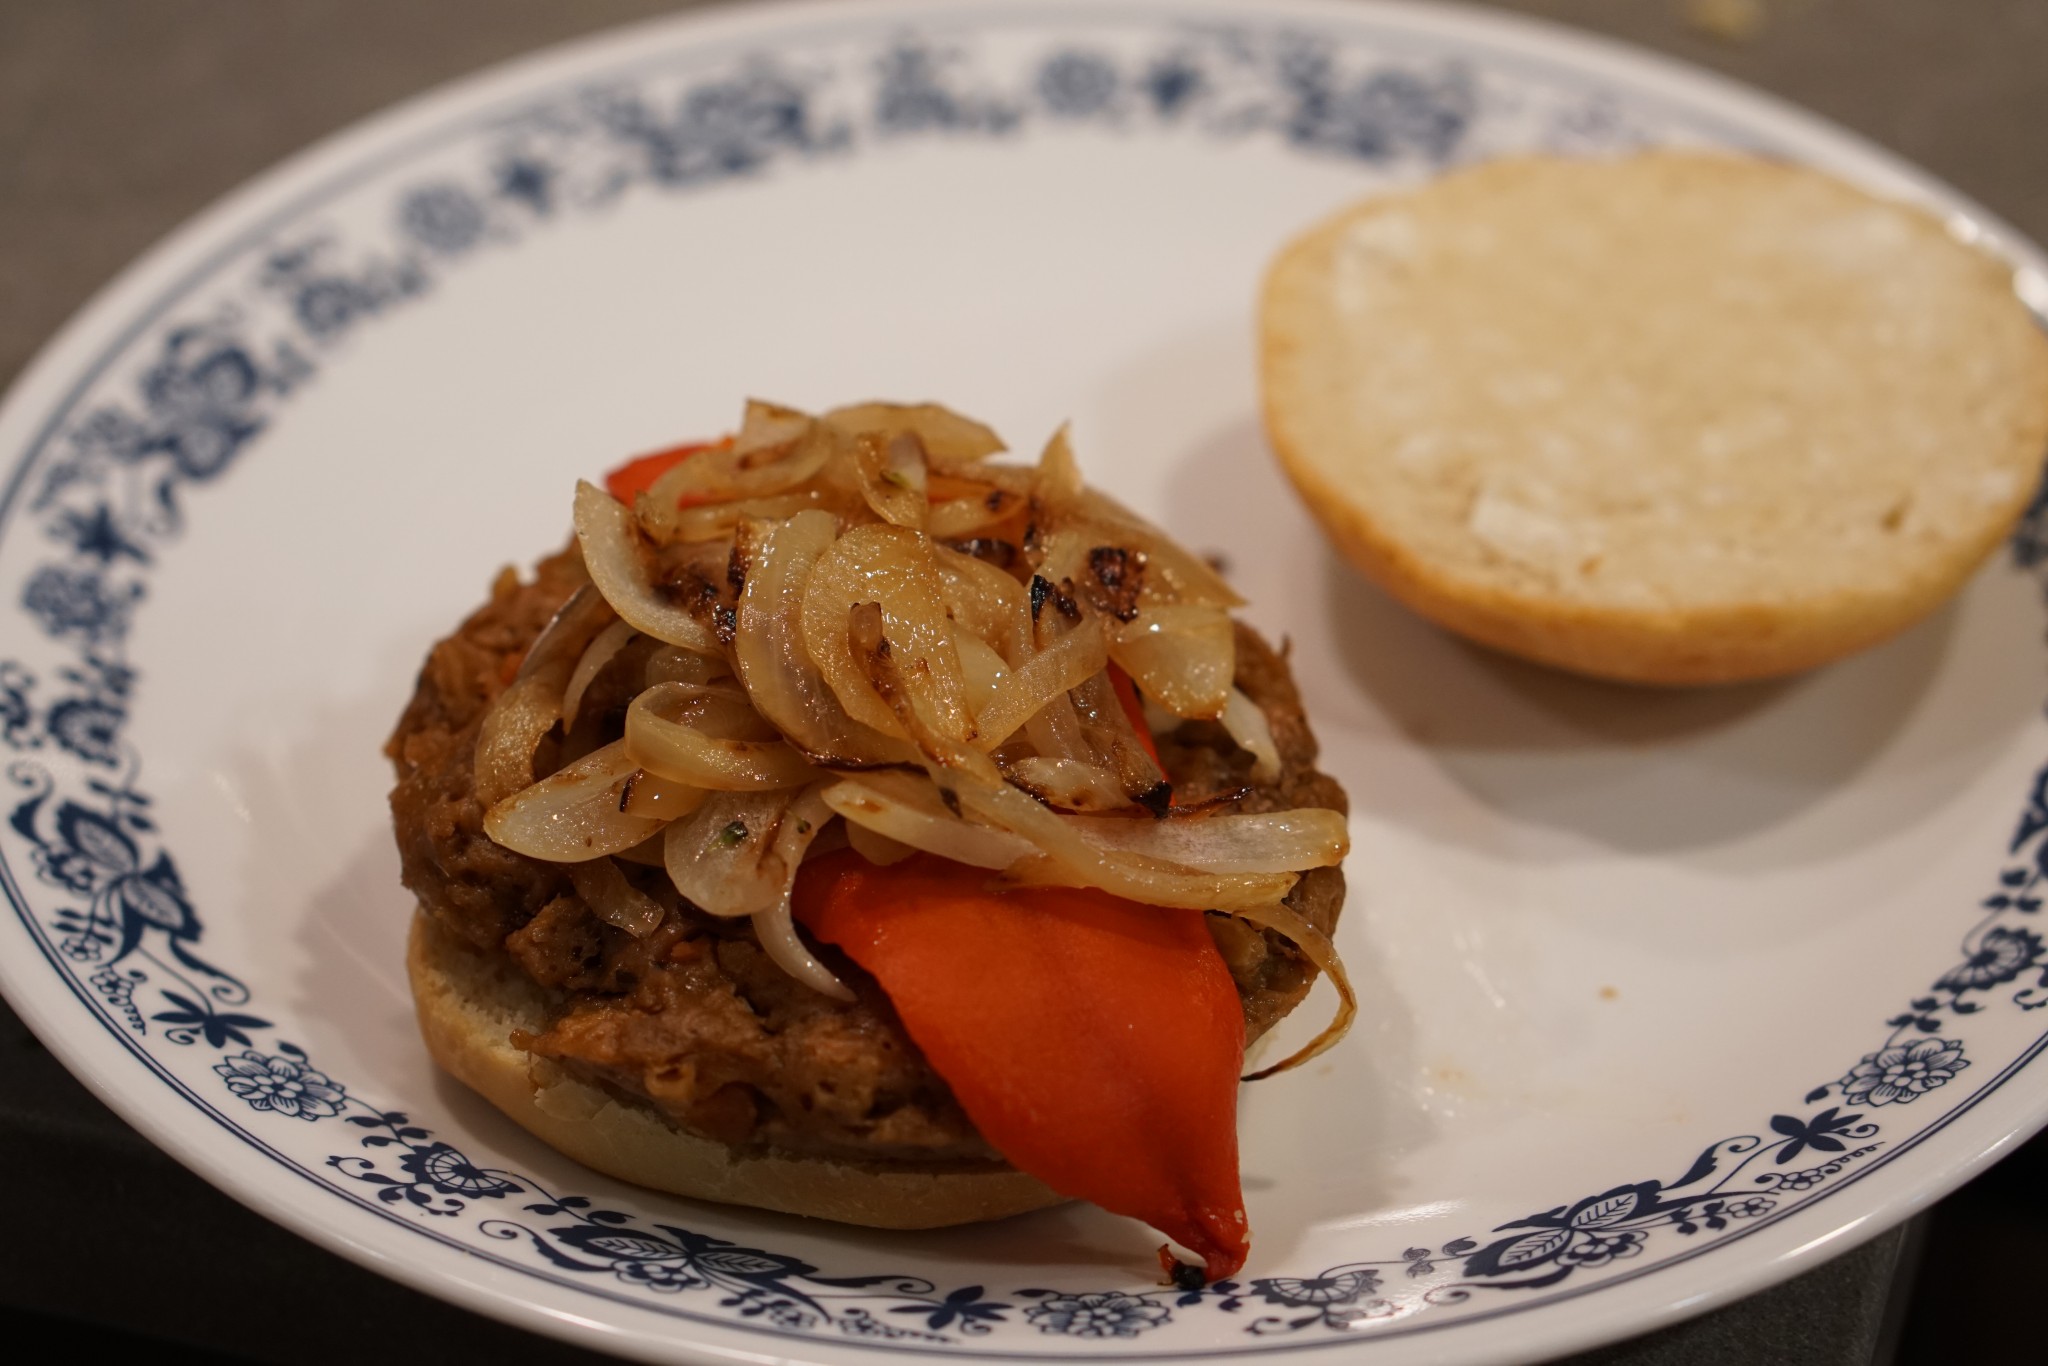
Photos
Followed the recipe above. 18 minutes in the oven, convection bake at 350°F. Used Silk® Vanilla Soymilk, Miyoko’s® European Style Cultured Vegan Butter, Bob’s Red Mill® Unbleached White All-Purpose Organic Flour, and avocado oil.